Measuring motion using the IMU
Okay, but first:
What the hell is an “IMU”?
Section titled “What the hell is an “IMU”?”An IMU stands for “Inertial Measurement Unit”, but basically, it’s a motion tracker!
The tinyCore’s IMU has six “Degrees of Freedom (6DOF), meaning we are measuring six things:
-
Acceleration in the X, Y, and Z axes
-
and Rotation (Gyroscopic Motion) in the X, Y, and Z axes
This is also known as Pitch, Yaw, and Roll for all you aerospace nerds.

The IMU on the tinyCore is specifically the LSM6DSOX, manufactured by STMicroelectronics. Within the datasheet, it describes it’s orientation:
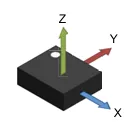
And here is how that chip is oriented on the board.
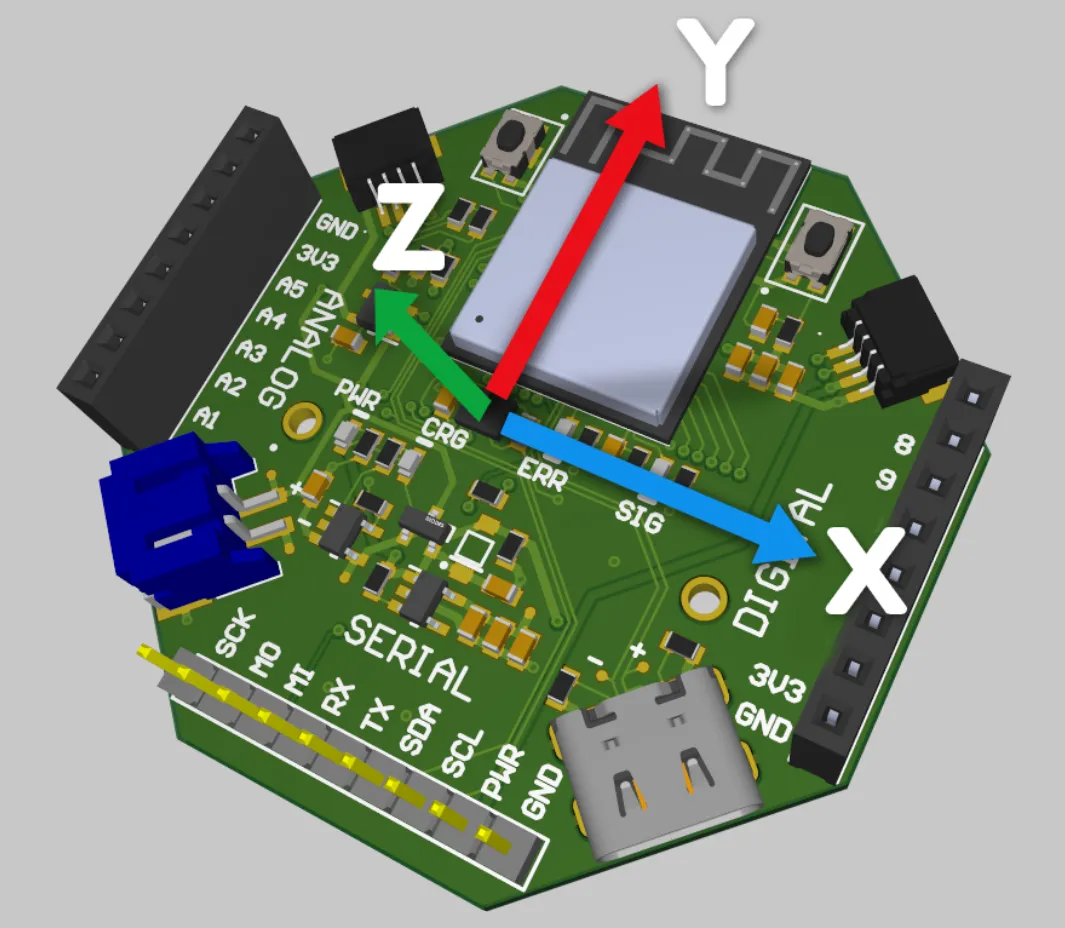
Now that you know where it is, let’s walk through how to use it with the Arduino IDE.
At this point, you should have already installed the custom board library and tested flashing code with an example program (e.g. Blink).
1. Install the libraries
Section titled “1. Install the libraries”The LSM6DSOX has a wonderful Arduino library made by Adafruit: Adafruit_LSM6DS
-
You can either install it manually, or click on the Library Manager icon in Arduino IDE:

-
Then search “Adafruit_LSM6DS” and click
INSTALL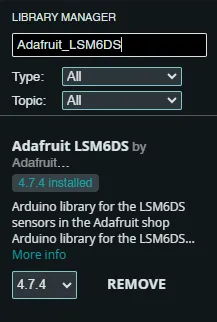
2. Flash the tinyCore
Section titled “2. Flash the tinyCore”Our IMU example demonstrates how to initialize the IMU and view it’s data graphed out via the Serial Plotter in Arduino. To try it out, copy or flash the example program below:
Flashing Code with the Arduino IDE
Section titled “Flashing Code with the Arduino IDE”Once you have the code copied into the Arduino IDE, and have connected your tinyCore via USB, it’s time to flash.
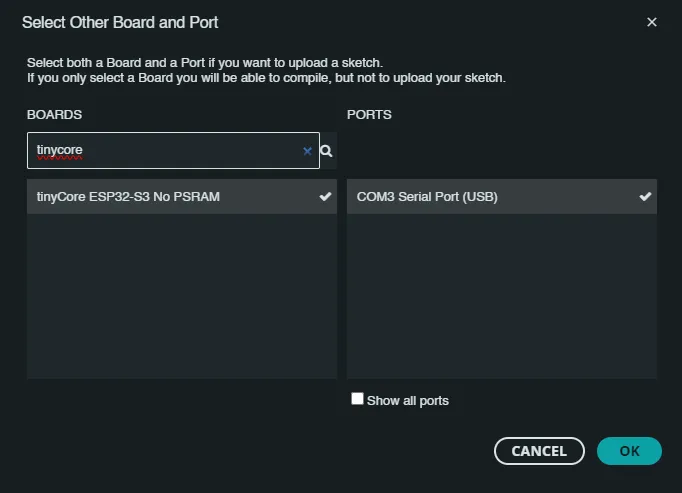
First, click the Board dropdown and “Select other board and port…”
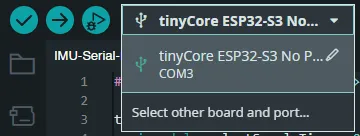
Select the correct board and COM Port of the device. Click OK
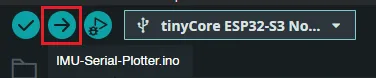
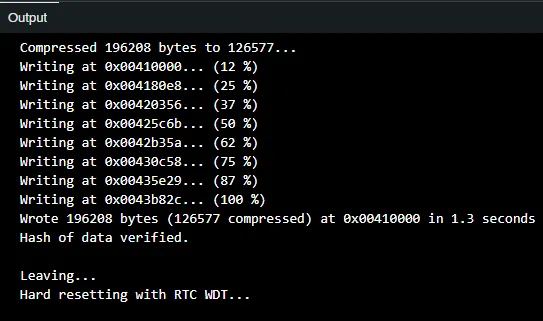
Now click the Upload icon, and wait for the board to reboot.
3. Using the Arduino Serial Plotter
Section titled “3. Using the Arduino Serial Plotter”The board should now be running the plotting program. Click the Serial Plotter icon in the top right corner of the IDE.
![]()
Ensure that you are set to the 115200 baud bitrate (located in the bottom right corner of the IDE)
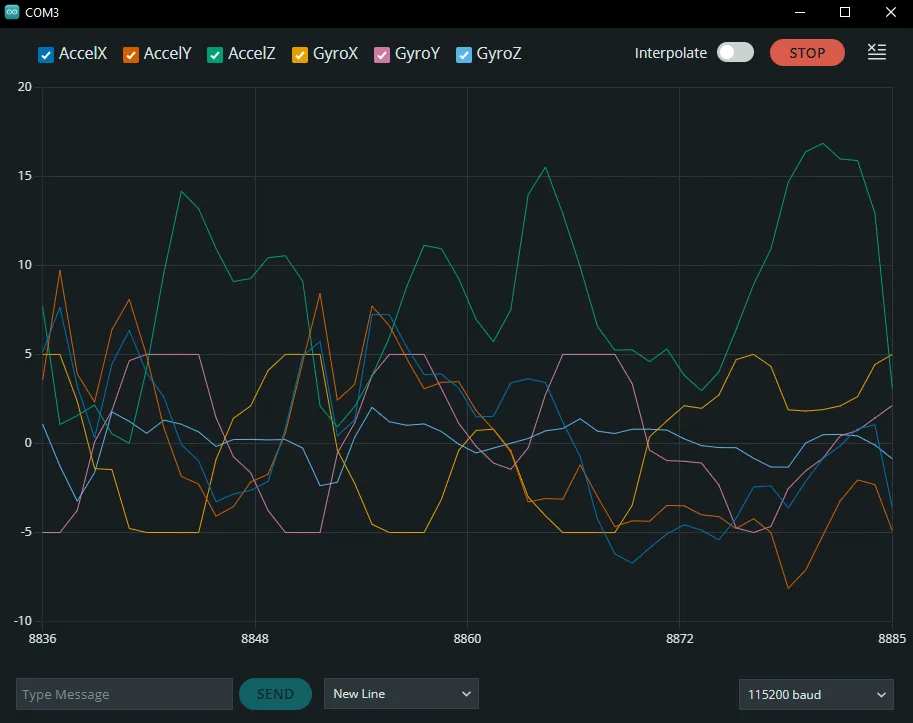
You should now see several lines on the screen, color-coded and labeled with their variable type:
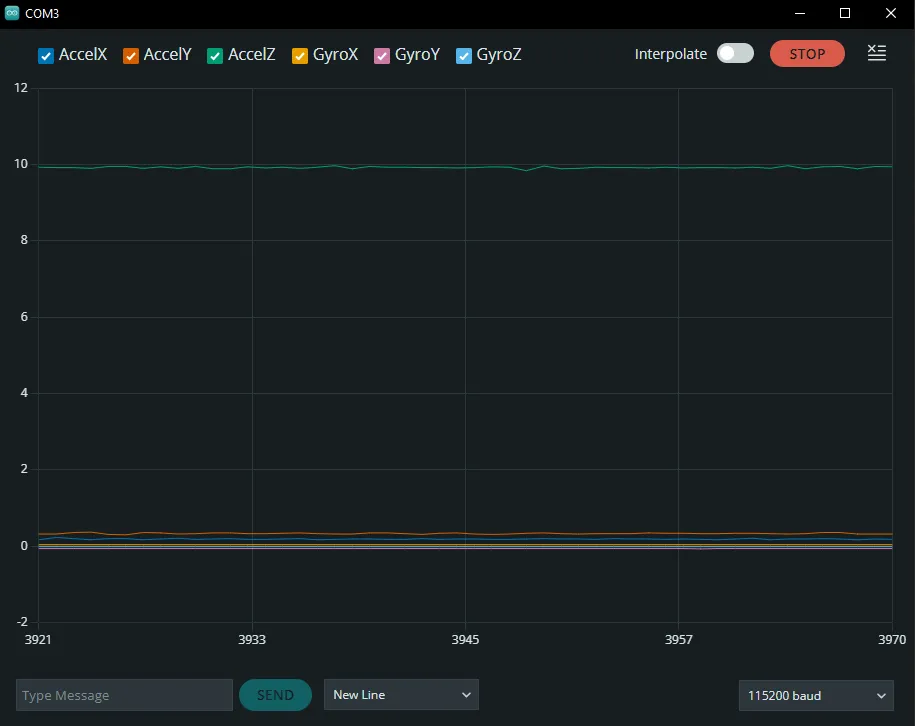
If your tinyCore is sitting up-right on a flat surface, you should see the third line (AccelZ) hovering around 9.81m/s. This is the acceleration due to gravity!
Now, if you start shaking the device, you will also see it’s movements, both accelerations and rotational movement in all six axes!
Try drawing circles in the air in different orientations, and see what shapes you can measure! Here’s my result:
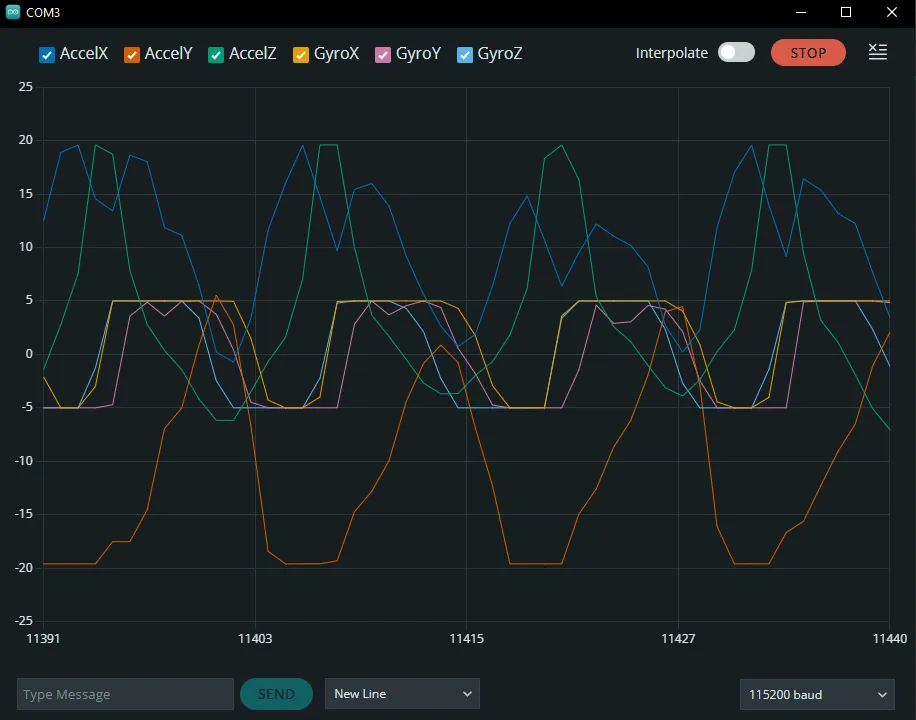
Brain Teaser: Can you guess what frequency I was spinning the device at in the image above? _Click for the Answer!
If we are sampling every 25ms, and there are ~13 points per rotation (one sine wave), then we know that it is 25 × 13 = 325ms per cycle. Converting this to a frequency by inverting it, we get 1/0.325, or ~3Hz!
4. Using the Web Serial Monitor
Section titled “4. Using the Web Serial Monitor”Make sure your tinyCore has the firmware flashed from above. Then click Connect.
5. Final Thoughts
Section titled “5. Final Thoughts”If you want to go further, you can learn how to improve our measurements via thresholding and Kalman filters in our IMU Deep Dive.
Nice job, now let’s move on to your first project!